Visual regression (VRT)
Screenshot every page, compare it to an approved baseline, and get a pixel diff when a deploy shifts the layout — plus baselines, accepting changes, weighted zones, and the variance learner.
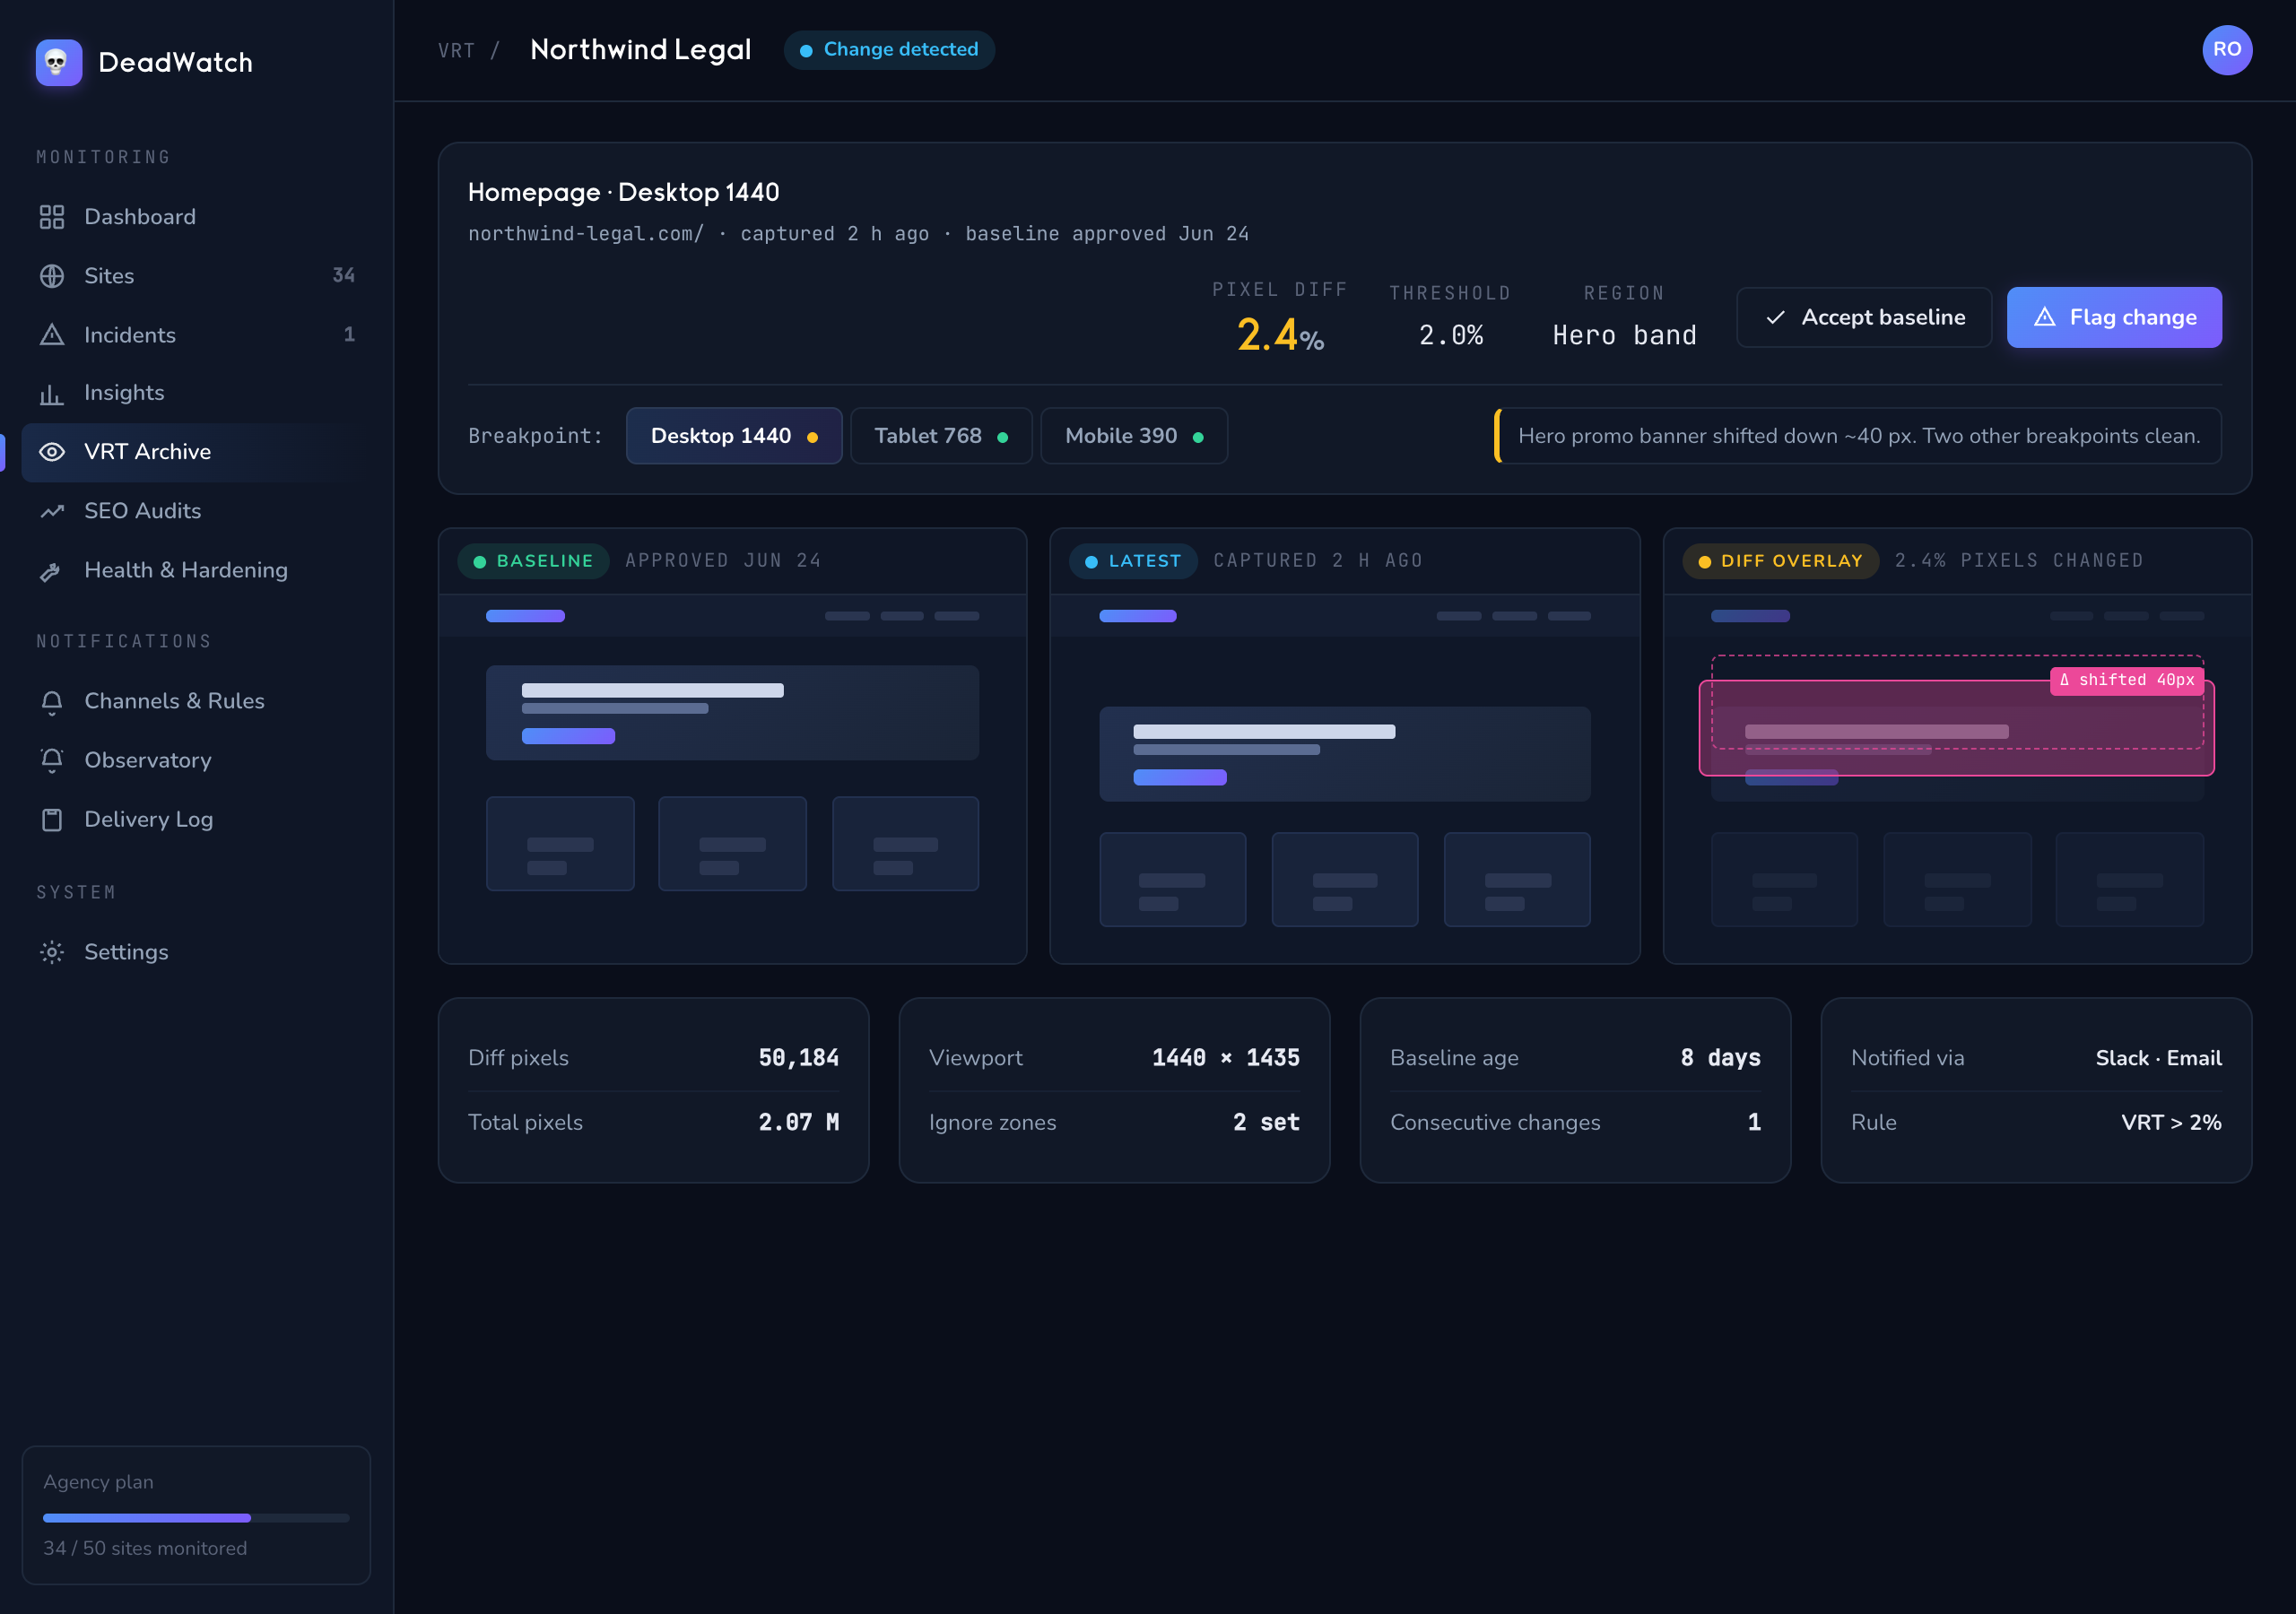
Visual regression testing (VRT) catches the failures that never throw an error: a broken header, a shifted layout, a third-party script that mangles the page. DeadWatch screenshots each page and compares it to a baseline you approved.
How VRT works
Every VRT scan captures a screenshot and diffs it against the site's baseline. The diff is scored as a percentage and bucketed:
- Unchanged (≤1%)
- Minor (1–5%)
- Major (5–10%)
- Critical (>10%)
Set a baseline
A site needs an approved baseline before it can diff anything.
- Open a site and go to the VRT tab.
- Click Capture Baseline Screenshot (or Run VRT Scan to capture, then Set as Baseline).
- To do both in one step, use Scan + Set Baseline.
You'll know it worked when… the warning "No baseline set" disappears and future scans show a diff percentage.
Read a diff
- On the VRT tab, open a result to see the Screenshot Comparison.
- Switch comparison modes: Side-by-side, Overlay (default), Diff (highlights the changed pixels), and Zones.
- Compare across viewports (e.g.
desktop-hd) using the Compare Viewports panel, and switch Capture Modes between Hero (above-fold) and Full page.
Accept a change as the new baseline
When a diff is a real, intended change (a redesign, new content), promote it so it stops flagging.
- On the flagged result, click Accept (or Accept Change).
- That screenshot becomes the new baseline and older results are dismissed.
You'll know it worked when… the result shows as Accepted and its diff is treated as resolved (struck-through, effective 0%).
Dismiss false positives
When a diff is just noise — an ad, a rotating banner, a mid-animation frame — mark it so DeadWatch learns to ignore similar diffs.
- Click FP (Mark FP) on the result.
- Pick a False Positive Reason: Rendering Noise, Dynamic Content, Timing Issue, or Other (add a note).
You'll know it worked when… the toast reads "Marked as false positive (N similar auto-suppressed)" — the noise filter is now trained.
Weighted zones
Not every part of a page matters equally. Weight the areas you care about and mask the ones you don't.
- On the VRT tab, click Manage Zones.
- Use Pick mode to click directly on the baseline and define weighted zones, mask regions, and per-zone alert thresholds.
History rows can then be filtered by which weighted zones a diff touched.
Train the variance learner
Some pages always churn a little (carousels, live feeds). Instead of a fixed "low-fidelity" capture, DeadWatch learns each page's normal variance from multiple reloads.
- Click Run Learner Pass — it captures several reloads to learn where the page naturally moves.
- When it finishes, review the suggested zones (classified as steady-high, episodic, or shift-only) and approve them.
Approved variance is auto-suppressed, so only real regressions page you. The VRT Archive page gives you the same picture across every site at once — filter by Changed, Critical, Failed, or Unchanged.
Next: Speed, SEO & SSL → — the quiet signals that tank a site without an error page.